- Authentication: When you connect an app to Zapier, you usually authenticate using an API key, OAuth (sign-in with Google/Microsoft/etc), or other credential-based methods. This allows Zapier to make API calls to that app securely.
- Data Access: Once connected, Zapier can access data from the app (like deals, contacts, or activities) or push data into it, depending on the integration’s capabilities.
- Reusability: You can reuse the same connection across multiple Zaps (automations), meaning you don’t need to re-authenticate each time.
Example (SalesDesk):
If you’re using the SalesDesk Zapier integration, creating a Connection means authorising Zapier to access your SalesDesk account. Once that’s done, you can build workflows (Zaps) that:- Trigger when a new lead is added in SalesDesk
- Create or update records in SalesDesk based on other app activity
- Sync SalesDesk data with tools like Google Sheets, Slack, or HubSpot
1
Create Private Key
To authenticate the SalesDesk Zapier app with SalesDesk, go to the SalesDesk Settings section and then the Developer sub-section. Create a new API key and copy the public and private keys. Keep the private key secure.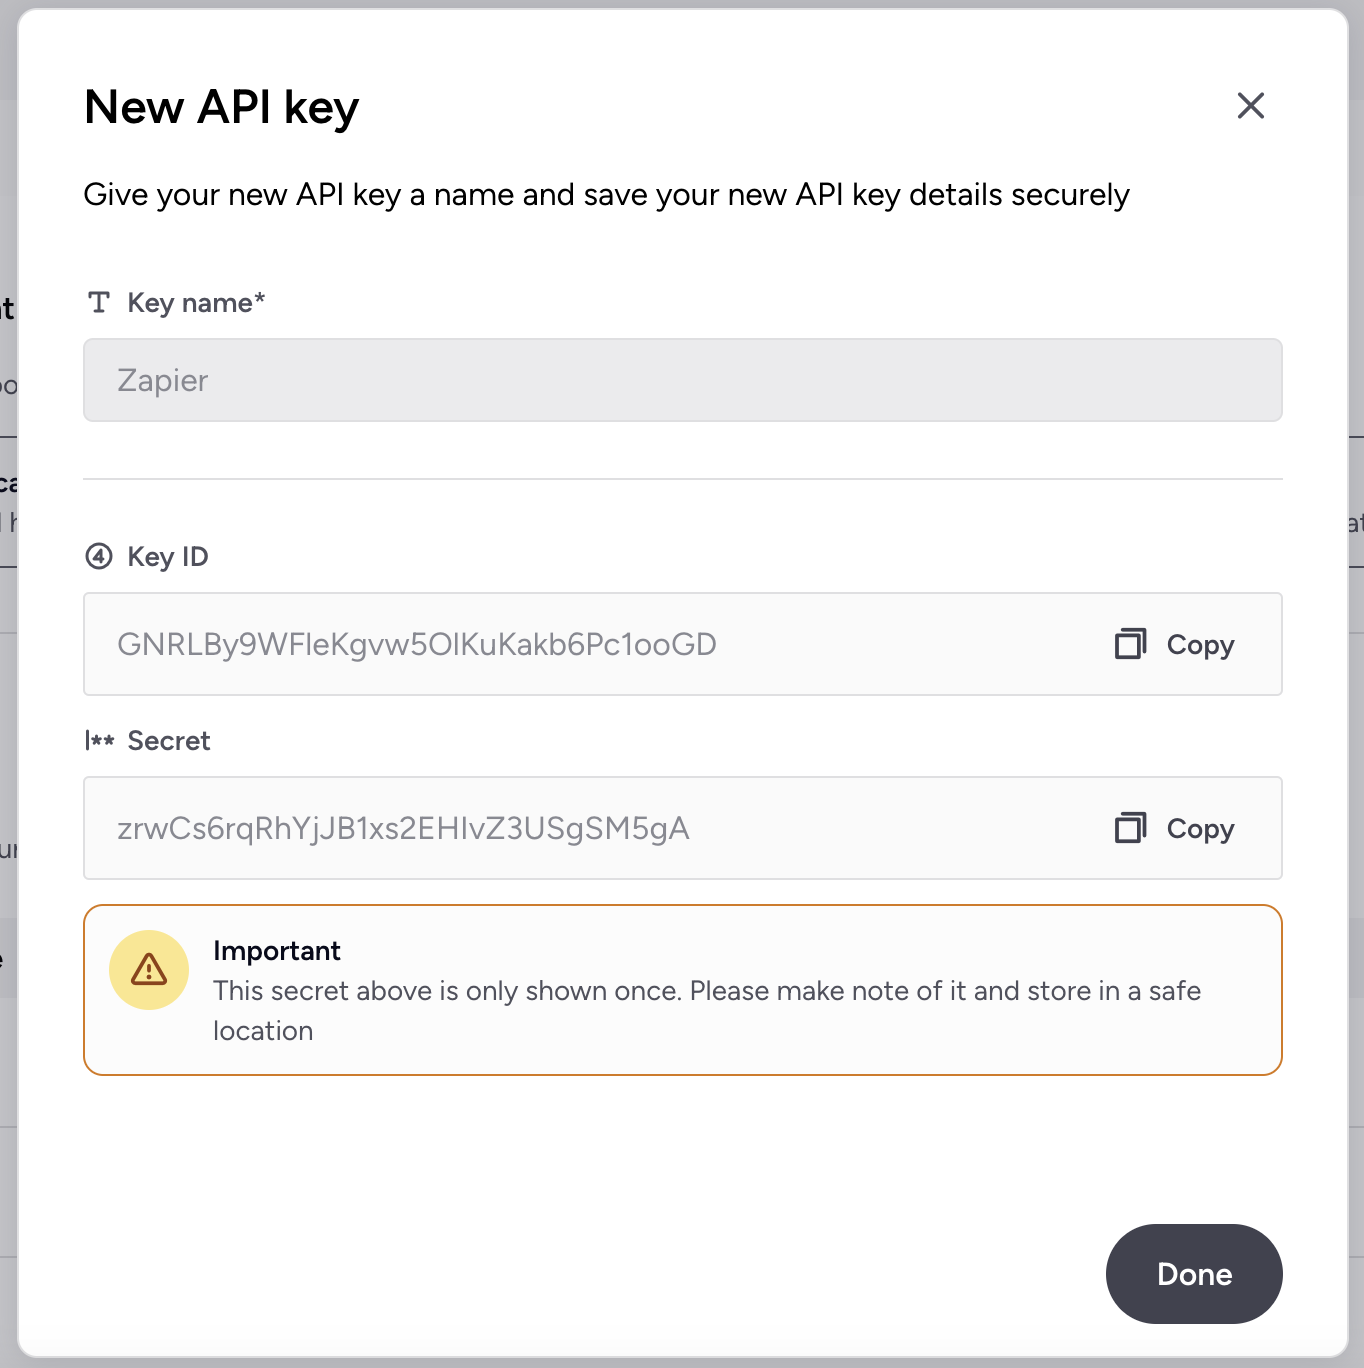
2
Create Connection in Zapier
Once you have your public and private keys, you can connect to your SalesDesk account from Zapier by setting up a Zapier Connection. Choose “Add new connection” and select SalesDesk from the drop-down menu.
3
Authenticate With SalesDesk
When the login screen appears, enter your public key in the first input box and your private key in the second.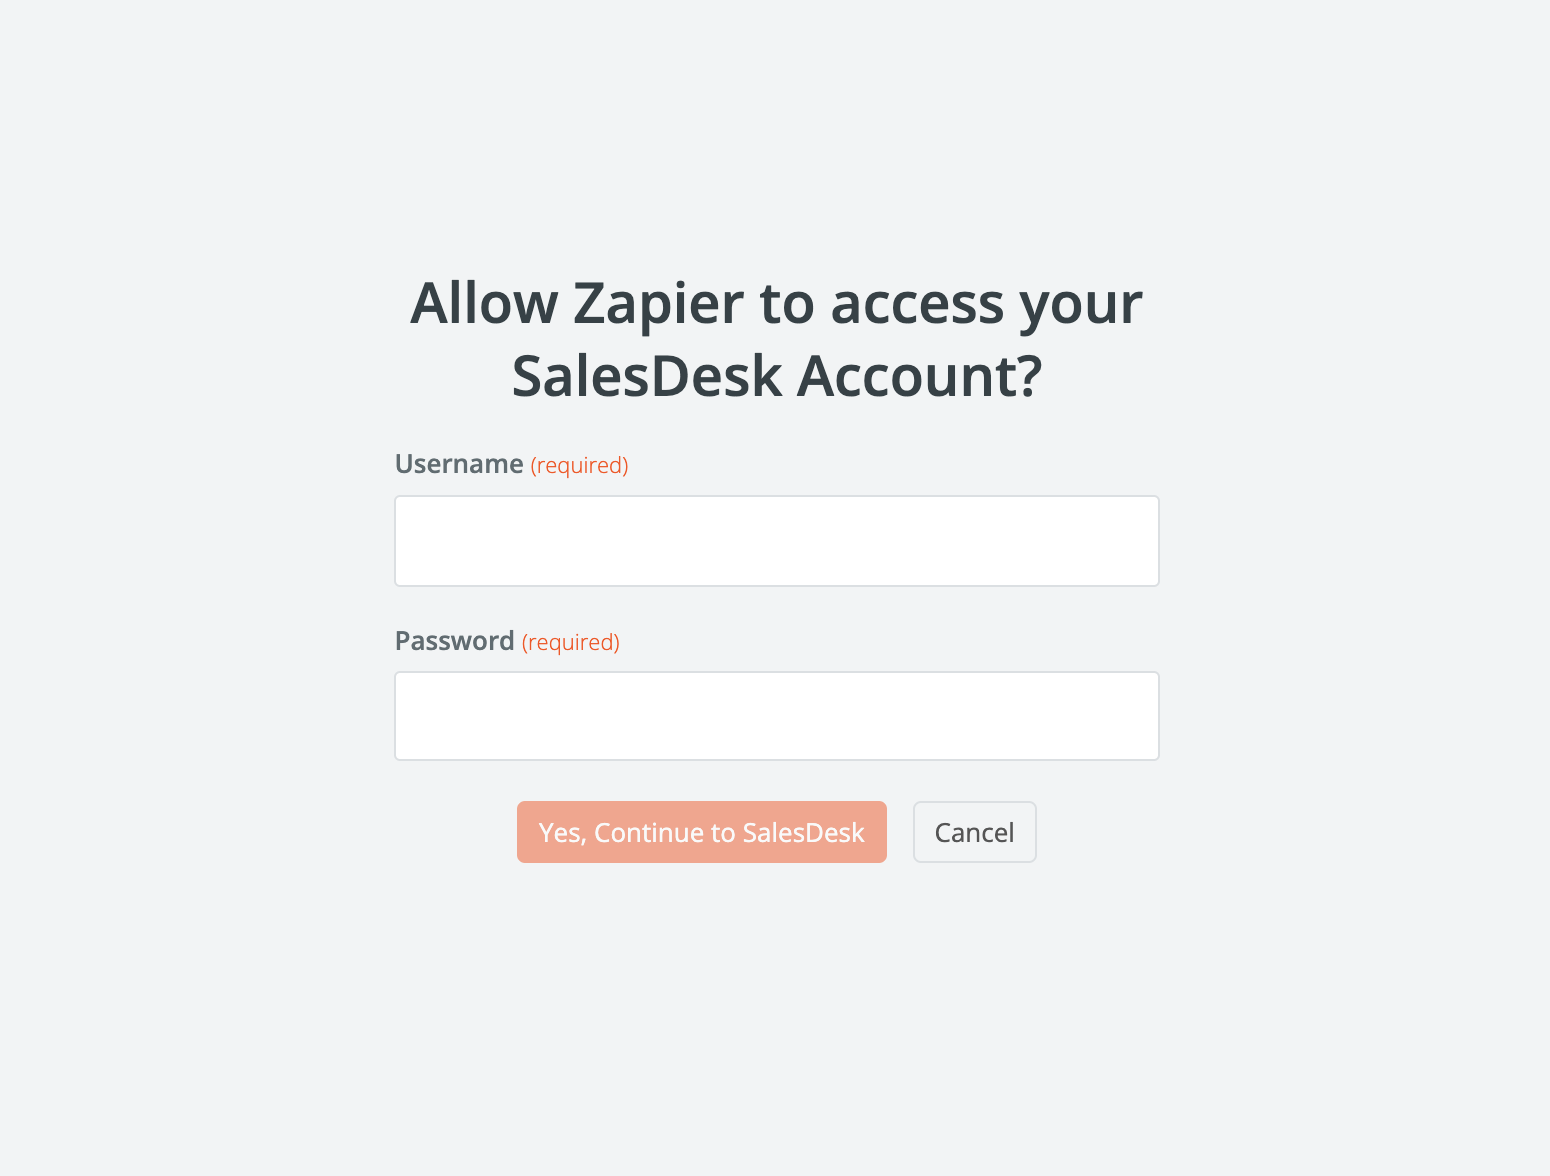
4
Test Your Connection
Go to the Connections section in Zapier and check that your Connection is working by selecting “Test connection”.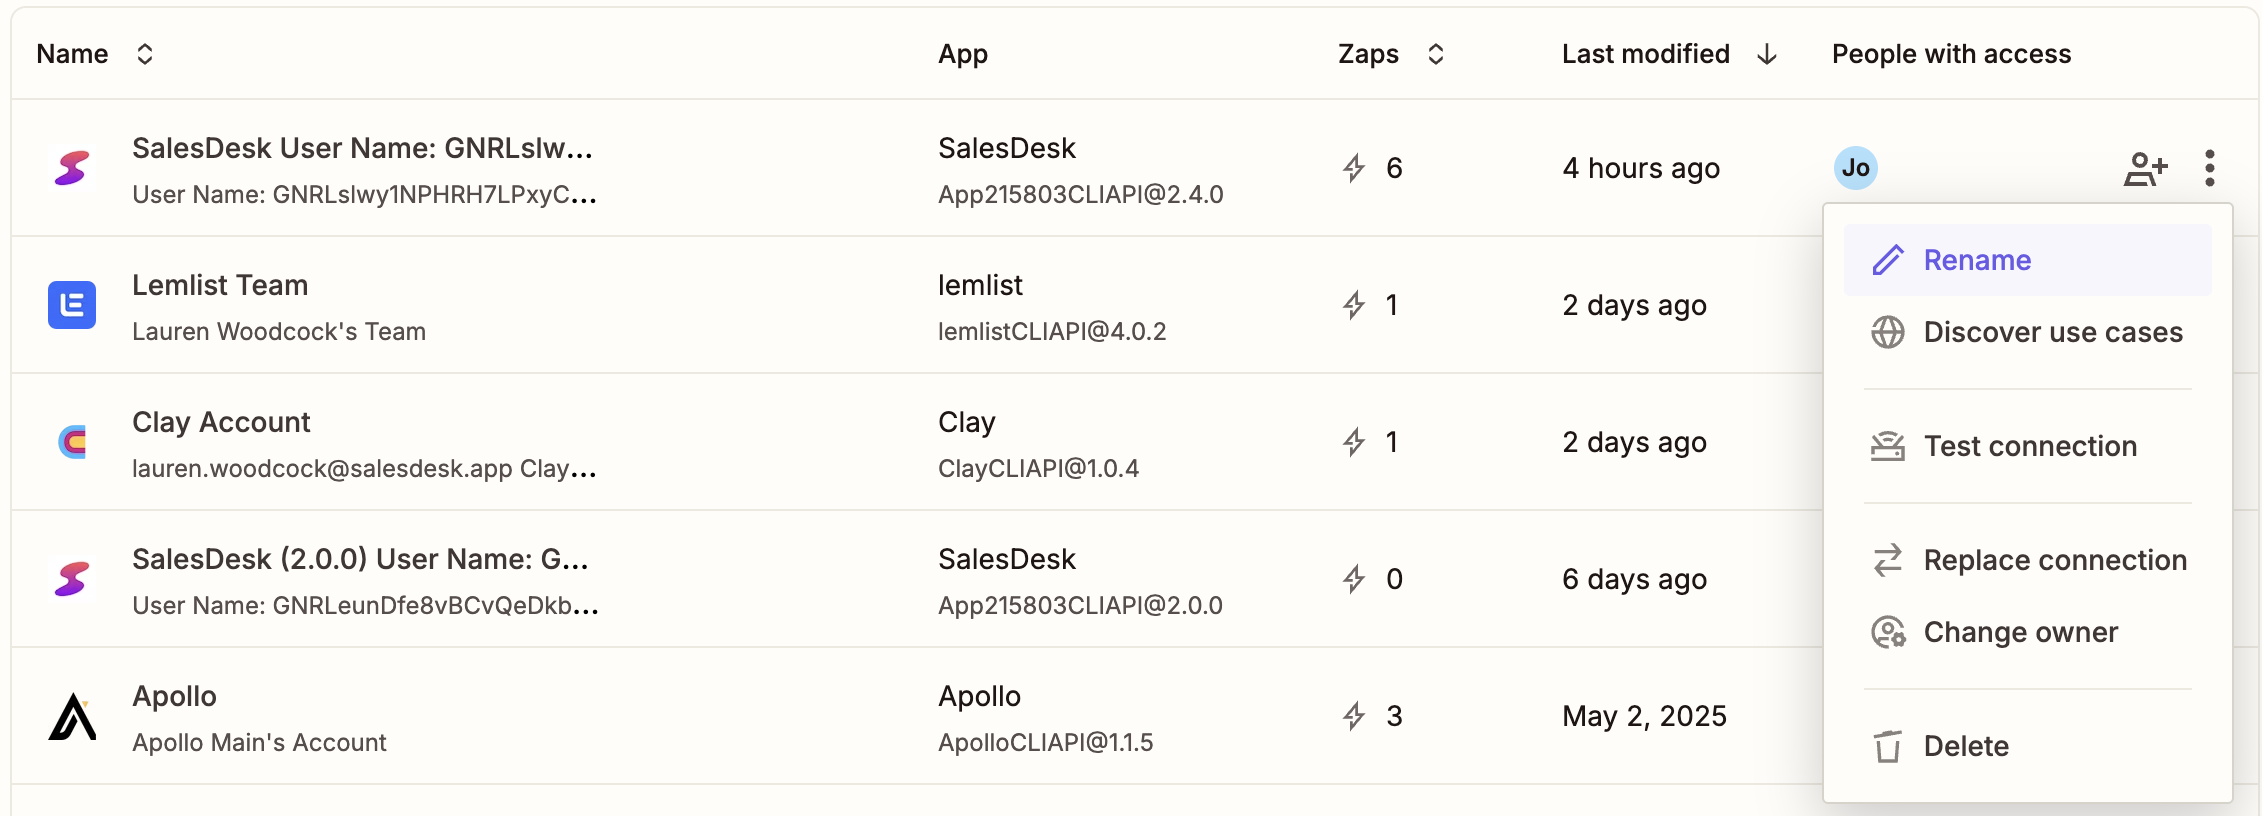
5
Start Creating Zaps
Now you’ve created a Connection, you’re ready to start using the SalesDesk app inside your Zaps!